
How to Build a Cheap Raised Bed That Lasts for Years
Raised beds are gardening's best upgrade for bad soil, bad backs and small spaces — but commercial kits charge a premium for what is essentially four planks and some screws. The good news is that a sturdy, long-lasting raised bed is one of the simplest DIY builds in gardening, achievable in an afternoon with basic tools and materials that cost a fraction of kit prices.
Here is how to build a cheap raised bed properly: the materials, the method, and the money-saving tricks for filling it without buying tonnes of bagged compost.
Materials: The Scaffold Board Standard
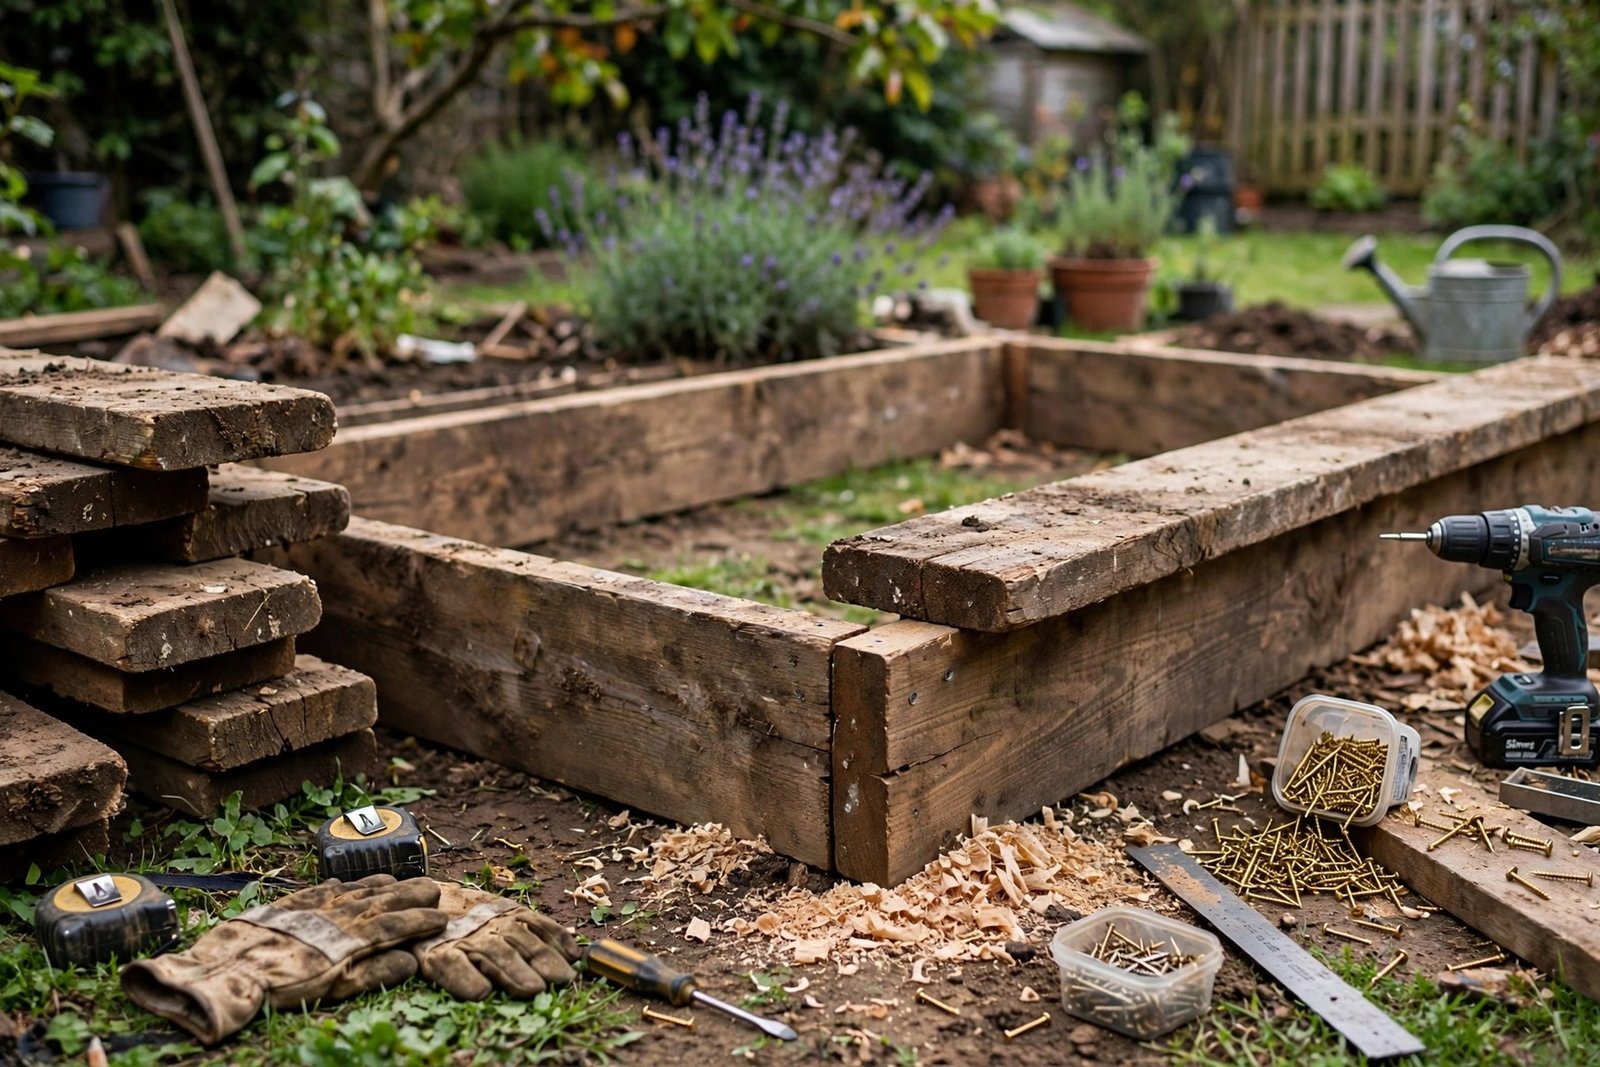
The budget gold standard is untreated scaffold boards — 2.4m lengths of thick, sturdy timber available from builders' merchants and reclamation yards for a few pounds each. Their thickness (around 38mm) means they need no additional framing for beds up to 30cm deep, and untreated boards avoid the chemical leaching concerns of old tanalised timber. Four boards make a classic 2.4m x 1.2m bed; ask the yard to cut two in half for the ends.
For fixings, use exterior-grade screws (75-100mm) driven through the long boards into the ends — pre-drill to prevent splitting. Corner posts (short lengths of 50mm square timber) add rigidity for deeper beds but are optional at 20-25cm depth. Line the interior sides with heavy-duty plastic sheeting or pond liner offcuts to slow timber rot — never the base, which must drain. Total materials for a 2.4m x 1.2m x 25cm bed: four scaffold boards, a box of screws, liner offcuts — typically £25-40 depending on sourcing. Reclaimed boards from building sites or marketplace listings cut this further.
Siting and the No-Dig Base
Position matters more than construction. Choose the sunniest level spot available — six-plus hours of sun for vegetables — and keep beds 60cm apart minimum for wheelbarrow and kneeling access. A 1.2m width is the ergonomic maximum: you must reach the centre from either side without stepping on the soil, because the entire point of raised beds is never compacting the growing medium.
The no-dig base method saves the labour of stripping turf. Mow the grass short, lay overlapping cardboard directly on top (removing tape and staples), wet it thoroughly, and build the bed on top — the cardboard smothers weeds and rots down within months while worms do the digging. For weedy ground, double-layer the cardboard. This method also means no edging battles: the bed contains everything. Level the frame with a spirit level, checking diagonals are equal so the rectangle is true.
Worth a look: the Royal Horticultural Society.
Assembly: An Afternoon's Work
Assembly is straightforward joinery. Lay out the boards in position, pre-drill pilot holes, and screw the long sides into the end boards — two screws per joint minimum, three for longer boards. If using corner posts, screw through the boards into the posts for a rock-solid frame. Check level in both directions as you go; a bed that rocks or sits twisted will work loose over seasons.
Line the inside walls with your plastic sheeting, stapling or tacking it just below the top edge — this keeps damp soil off the timber and can double a bed's life. Leave the base open to the ground for drainage and worm access. For beds on concrete or paving, add a 5cm gravel drainage layer and landscape fabric before filling. Optional extras that earn their keep: a top-edge capping board (a flat plank screwed along the top) gives a comfortable seat and kneeling edge, and copper tape around the top deters slugs. Stand back and admire — the hardest part is done.
Filling Without Breaking the Bank
The layering method
Filling is where budgets die — a 2.4m x 1.2m x 25cm bed holds over 700 litres, and bagged compost at retail would cost a fortune. The cheap method is layering: fill the bottom half with bulky organic matter — logs and thick branches (hugelkultur-style), straw, shredded cardboard, grass clippings, autumn leaves — then the top 20-25cm with a 50/50 mix of topsoil and compost. The base layers rot down over a season or two, feeding the soil as they settle.
Where to source free materials
Source bulk materials cheaply: municipal compost from council recycling centres is often free or a few pounds per bag; local tree surgeons give away woodchip; stables offer manure (well-rotted only for direct planting); and autumn leaf collection from streets gives free leafmould in a year. Top up each spring as the base settles — expect 5-10cm of sinkage in year one. Never fill entirely with pure compost or manure; plants need the mineral content and structure of real soil.
Crop Rotation in a Small Bed
Rotation matters even in one bed: growing the same family in the same soil yearly builds up pests and depletes specific nutrients. The simple system groups crops in four families — legumes (peas, beans: fix nitrogen), brassicas (cabbage, kale: hungry, follow legumes), roots (carrots, beetroot: light feeders), and potatoes/solanaceae plus everything else — and rotates them yearly so each family moves to the next section.
In a single 2.4m bed, split it mentally into quarters and rotate the families through; in multiple beds, rotate whole beds. The legume-first sequence is the engine: beans enrich the soil, brassicas exploit it, roots coast on the remainder. Add garlic and onions wherever they fit — they are light feeders and their pest-confusing scent helps neighbours. Keep a tiny notebook map each spring; rotation fails only when forgotten. Five minutes of planning yearly prevents the mysterious declining yields that plague static beds.
The full background is available at Garden Organic.
What to Grow First and Maintenance
First-year beds are at their most fertile — exploit it with hungry crops: courgettes, squash, tomatoes, sweetcorn and potatoes all thrive in fresh, rich raised-bed soil. Salad leaves, herbs and carrots suit the edges. Avoid perennial weeds' seeds by mulching bare surfaces; the contained bed makes hoeing a two-minute job.
Maintenance is minimal: top-dress with 3-5cm of compost each spring, check screws annually and tighten as timber shrinks, and expect scaffold-board beds to last five to eight years (longer with the liner). When boards eventually rot, the soil inside is now glorious — simply rebuild the frame around it. A cheap raised bed is not a compromise; built right, it outperforms expensive kits while costing less than a takeaway.
If you found this useful, keep reading: how do i build a raised garden bed cheaply and how do i build a capsule wardrobe on a budget.
Build a cheap raised bed from untreated scaffold boards — four 2.4m lengths screwed into a 2.4m x 1.2m frame with exterior screws, lined inside with plastic sheeting, sitting on a no-dig cardboard base. Fill cheaply by layering bulky organic matter below a 50/50 topsoil-compost top 25cm, sourced from council compost, tree surgeons and stables. Total cost £25-40, one afternoon's work, five-plus years of service — and the best growing soil you will ever own.
Frequently Asked Questions
How deep should a raised bed be?
20-30cm suits most vegetables; the classic scaffold-board bed at ~25cm is ideal. Root crops like parsnips appreciate 30cm+. Depth matters less than soil quality — most veg roots concentrate in the top 20cm.
Can I put a raised bed on grass?
Yes — mow short, lay overlapping wet cardboard as a weed-smothering base, and build directly on top. No need to dig out the turf; worms and decomposition handle it.
What is the cheapest way to fill a raised bed?
Layer bulky free organic matter (logs, straw, leaves, cardboard) in the bottom half and only the top 20-25cm with a topsoil-compost mix. Source compost from council sites and manure from stables.
How long do wooden raised beds last?
Untreated scaffold boards last 5-8 years, longer with interior plastic lining keeping damp soil off timber. When boards rot, rebuild the frame around the now-superb soil inside.