
How to Re-Grout Bathroom Tiles Yourself (Step-by-Step)
How to Re-Grout Bathroom Tiles Yourself (Step-by-Step)
Discoloured, cracked or missing grout makes even good tiles look terrible — and re-grouting is one of the most satisfying DIY jobs there is. Here’s how to re-grout bathroom tiles yourself, start to finish, for about £20 in materials.
What you’ll need
- Grout rake / grout remover tool (£5–£10) — or a multi-tool with grout blade for big areas
- New grout (£8–£15 for a 5kg bag — enough for most bathrooms)
- Grout float (£5–£8)
- Sponge and bucket (a proper tiling sponge, £3)
- Dust mask, gloves, old towels
Choose the right grout: for bathrooms, use a waterproof, mould-resistant grout (Mapei Ultracolor, BAL Micromax2). Standard grout in a wet area will fail within a couple of years. Match the colour to the existing grout unless you’re deliberately changing it — light grey is forgiving; brilliant white shows everything.
Step 1: Remove the old grout
Rake out the old grout to at least 2–3mm deep (deeper for floor tiles). Work carefully along the grout lines — the goal is to remove grout, not chip tiles. This is the tedious part: allow half the total job time for raking. A multi-tool with a grout-removal blade speeds up large areas enormously, but keep it steady — one slip scratches the tile glaze.
Vacuum or brush out all dust afterwards. Wipe the joints with a damp sponge and let dry.
Step 2: Mask and protect
Mask off adjacent surfaces (bath edges, shower trays, painted walls) with tape. Grout gets everywhere. Lay towels over the bath and basin.
Step 3: Mix the grout
Follow the bag’s ratio exactly — too wet and it shrinks and cracks; too dry and it won’t fill. Mix to a thick toothpaste consistency. Only mix what you can use in 20–30 minutes (grout sets fast). Let it slake (rest) 5 minutes, then remix briefly.
Step 4: Apply
- Load the grout float and spread diagonally across the tiles, pressing firmly into the joints.
- Work in 1–2 sqm sections — don’t grout the whole wall then try to clean it.
- Hold the float at 45° to push grout in, then 90° to scrape excess off the tile faces.
- Fill every joint fully — voids behind the surface will crack later.
Step 5: Clean as you go
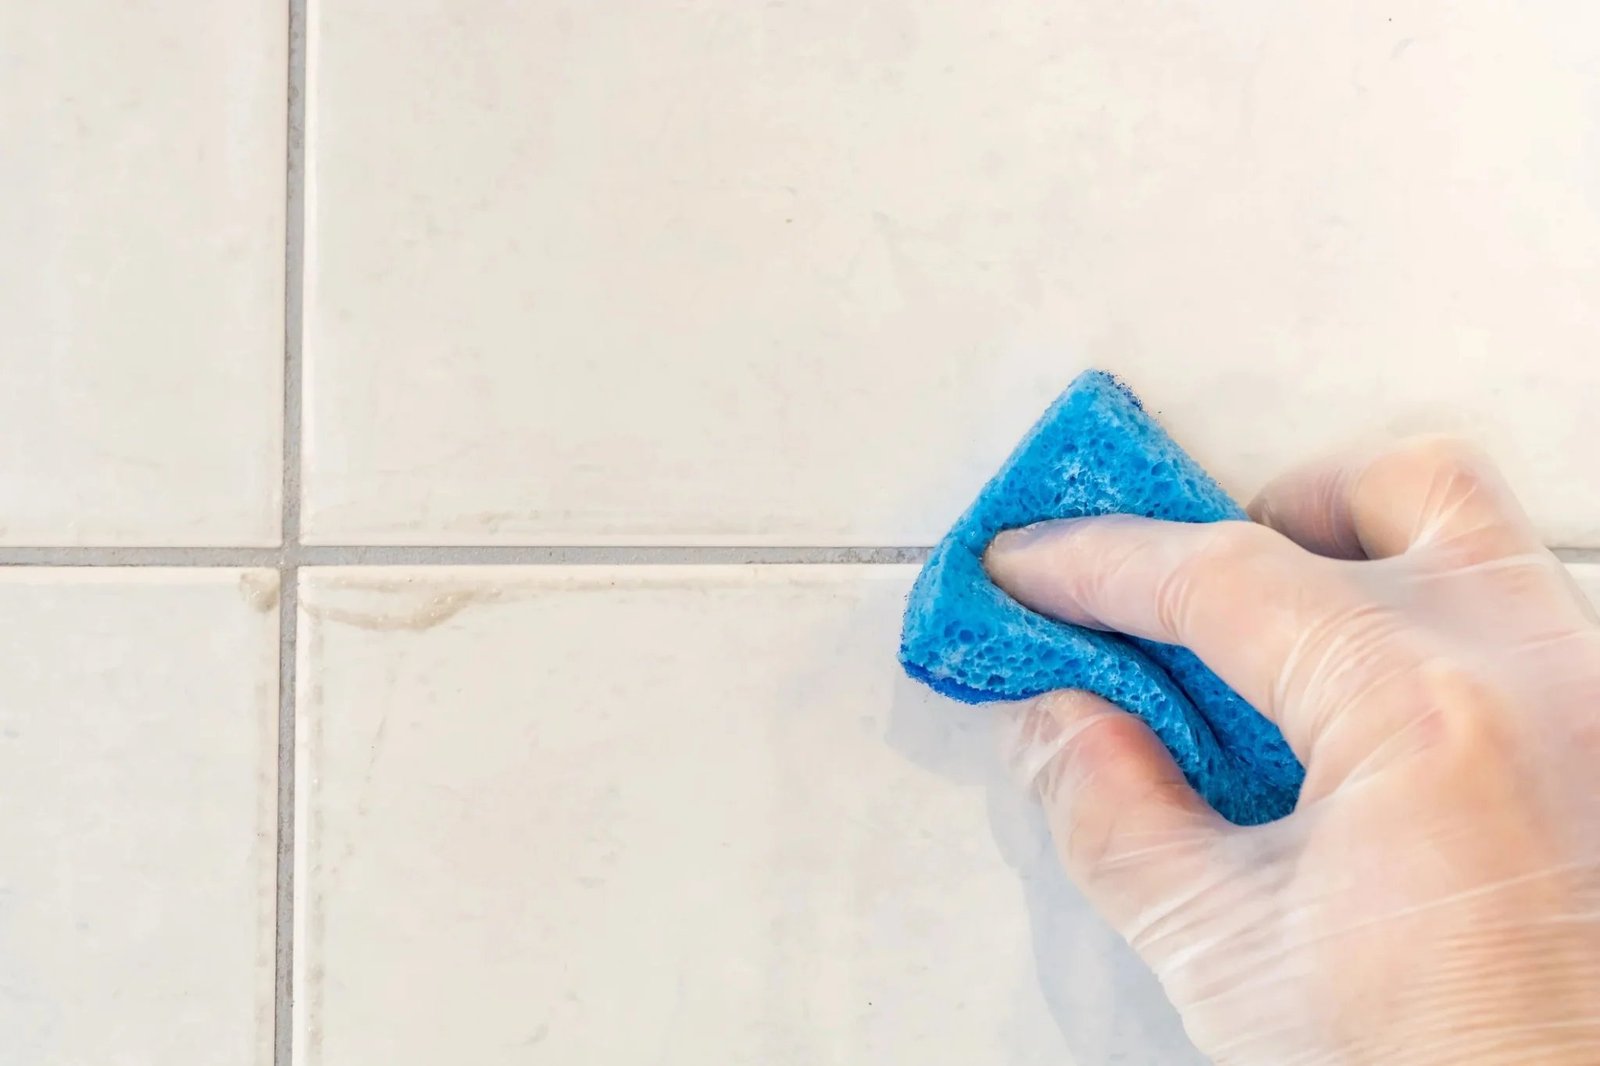
Wait 10–15 minutes (until the grout is firm but not hard), then wipe with a damp (not wet) sponge in diagonal strokes, rinsing frequently. This is the skill part: too early and you pull grout from joints; too late and haze sets on the tiles. After an hour, buff off remaining haze with a dry cloth.
Step 6: Seal and cure
- Keep the area dry for 24–48 hours — no showers on fresh grout.
- Once cured, apply a grout sealer (£8–£12) in wet areas — it dramatically extends grout life.
- Re-silicone the bath/shower edges (grout shouldn’t be used where tile meets bath — it cracks with movement).
Common mistakes
- Not raking deep enough — new grout over old crumbles within months
- Using wall grout on floors (or non-flexible grout) — floors need flexible grout for movement
- Over-wetting during cleanup — weakens the grout
- Grouting the bath-to-tile joint — always silicone there, never grout
- Wrong colour match — test a small area first; wet grout dries lighter
When NOT to re-grout
- Tiles are loose or hollow-sounding — the adhesive has failed; re-grouting won’t fix it
- Water damage behind tiles — investigate the leak first
- Mould keeps returning despite proper grout — see getting rid of mould permanently; the problem is ventilation, not grout
The bottom line
Re-grouting is 70% preparation, 30% application: rake deep, mix correctly, work in small sections, and keep it dry while curing. For £20 and a weekend, it’s the highest-impact bathroom refresh going — and paired with fresh silicone and a coat of bathroom paint, it can make a 15-year-old bathroom look nearly new.
Epoxy grout: worth the hassle?
Standard cement grout is porous — it absorbs water, stains and grows mould. Epoxy grout is essentially plastic: waterproof, stain-proof, mould-proof, and nearly indestructible. It’s the professional choice for showers, wet rooms and commercial kitchens. So why doesn’t everyone use it? It’s horrible to work with — it sets fast (20–30 minute working time), it’s sticky, and cleanup must be immediate and thorough. Leftover haze is a nightmare to remove once cured.
Verdict: for DIYers, use premium cement grout + sealer (Mapei Ultracolor + grout sealer) — 90% of the benefit, 10% of the stress. For showers and wet areas where you’re hiring a tiler anyway, ask for epoxy — the tiler’s experience makes the difficulty irrelevant, and you’ll never scrub mouldy shower grout again. The material cost difference (£30–£50 vs £10–£15) is trivial against a tiler’s day rate.
Re-grouting FAQs
Can I just grout over the old grout? No — new grout needs 2–3mm of depth to bond. Skimmed over the surface, it crumbles within months. Rake it out properly; there’s no shortcut that works.
How do I match the existing grout colour? Take a photo in natural light to the tile shop, or buy a grout colour chart (£5). Remember: wet grout dries lighter — judge the match when dry. When in doubt, light grey suits most bathrooms and hides ageing better than white.
Is re-grouting a shower different? The technique is the same, but use waterproof grout (epoxy ideally) and ensure the shower is tanked behind the tiles — if water’s getting behind the tiles, grout is the least of your problems. And never grout the wall-to-tray joint — that’s always silicone (movement cracks grout).
How long before I can use the shower? 48–72 hours minimum for cement grout (longer in cold/damp conditions). Epoxy: 24 hours. Rushing this is the #1 cause of premature grout failure — the grout looks dry on the surface long before it’s cured through.
My grout keeps cracking — why? Movement — the substrate is flexing (common on wooden floors or stud walls). Switch to flexible grout (polymer-modified) and check the substrate is sound. Cracking in the same place repeatedly means the structure moves — grout can’t fix that, only accommodate it.
Related reading
See Mapei’s professional grouting guidance for product choice, and our best paint for damp bathrooms for the finishing touch.