
How to Save Tomato Seeds for Next Year’s Plants: Full Method
That tomato you grew this summer — the one with the outrageous flavour that made supermarket tomatoes taste like red water — doesn’t have to be a one-season wonder. Saving its seeds is free, takes about ten minutes of actual work, and connects you to a gardening tradition older than agriculture itself. But tomato seeds have a quirk: each one sits inside a slippery gel sac that stops it sprouting inside the fruit, and if you just dry seeds straight from the tomato, that gel inhibits germination and can harbour disease. The fix is fermentation — a slightly smelly, completely simple process that mimics what happens when a tomato rots on the ground in nature. Here’s how to do it properly.
Pick the right tomatoes to save from
Not every tomato is worth saving. The golden rule: save seeds from open-pollinated or heirloom varieties, not F1 hybrids. Hybrids are deliberate crosses of two parent lines, and their seeds won’t grow true — you’ll get unpredictable offspring that may taste nothing like the parent. If your seed packet said F1, enjoy the fruit and buy fresh seed next year. If it was an heirloom or open-pollinated variety, its seeds will grow into plants essentially identical to this year’s.
Choose fruit from your healthiest, most productive plants — you’re selecting for vigour as well as flavour, so this is gentle plant breeding in action. Pick fully ripe, disease-free tomatoes, ideally from several different fruits on the plant (or several plants of the same variety) to keep the gene pool broad. And only save from varieties grown in isolation or that are naturally self-pollinating; tomatoes mostly pollinate themselves, so crossing is rare, but if you grew two similar cherry varieties cheek by jowl, accept a small chance of a surprise. Give next year’s saved-seed plants the best possible start with deep, rich soil — building a raised garden bed cheaply is an ideal home for a row of your own-saved tomatoes.
The fermentation method, step by step
1. Scoop the seeds
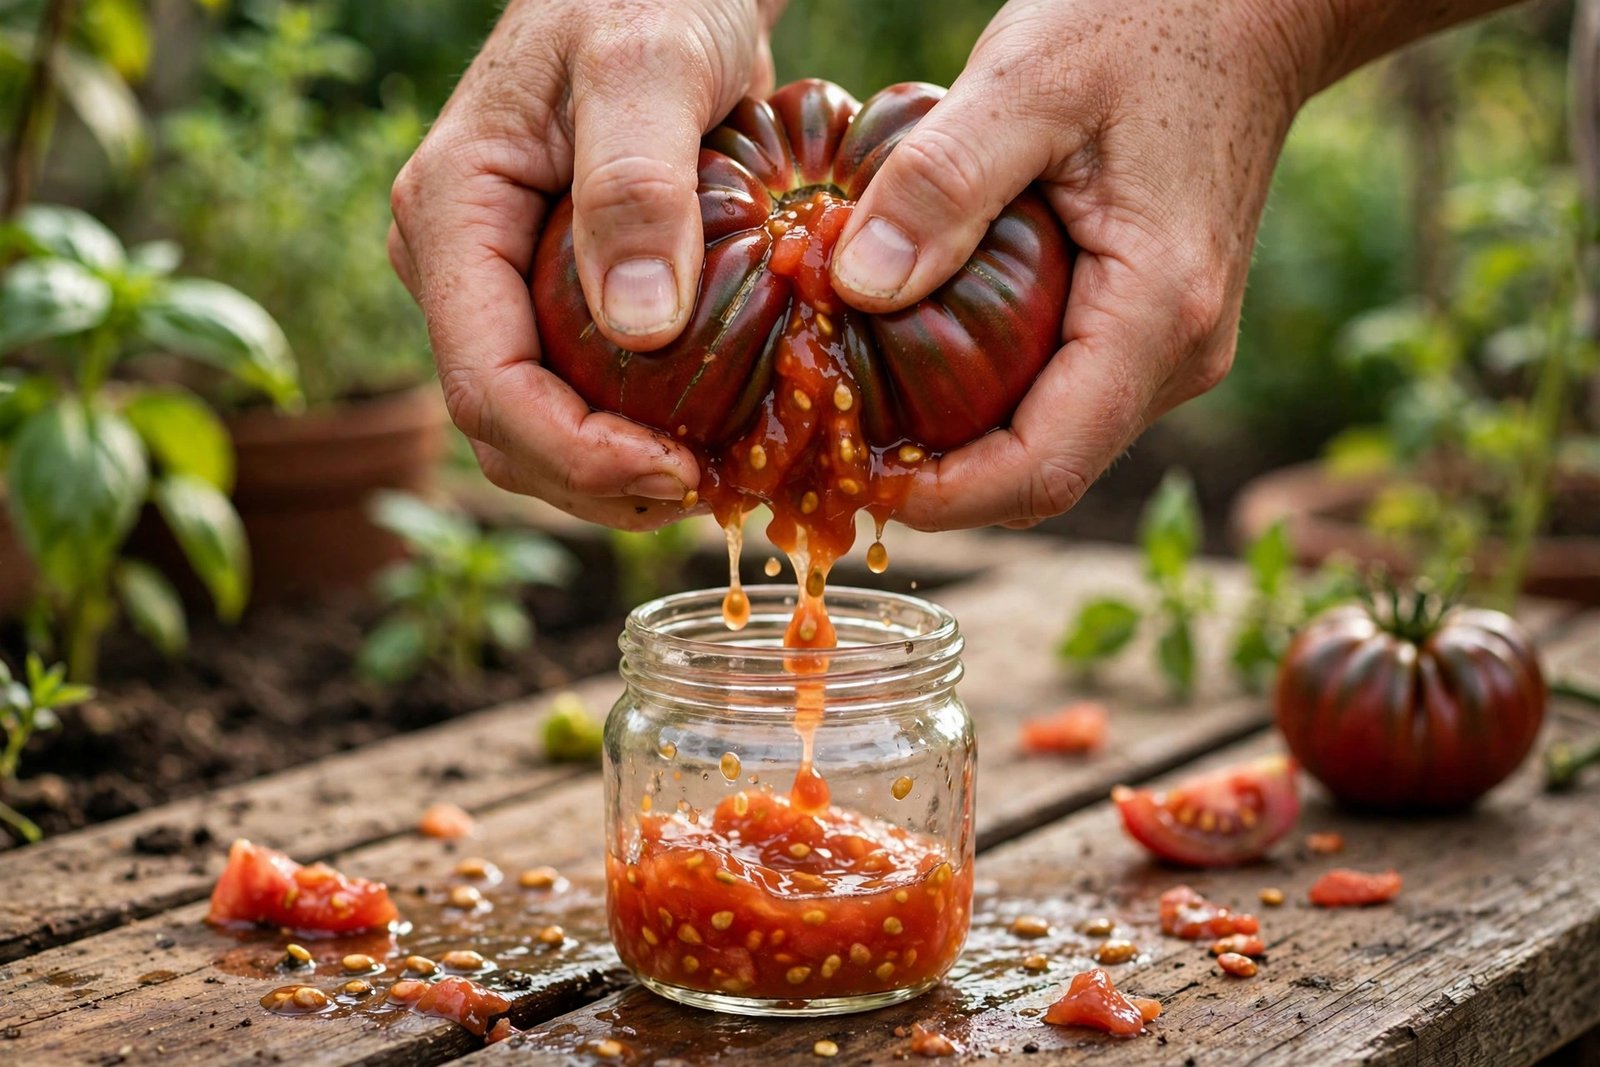
Cut the ripe tomato across the middle and squeeze the juice, pulp and seeds into a clean glass jar or bowl. A single tomato yields anywhere from fifty to three hundred seeds depending on variety — more than enough for years of plants. Label the jar with the variety name now; you will absolutely forget which jar is which by day three.
2. Add water and wait
Add roughly half as much water as you have pulp and juice, cover loosely with cloth or a paper towel (to keep fruit flies out while letting air in), and leave the jar somewhere warm out of direct sunlight — a shed shelf or shaded outdoor spot is ideal, because this gets smelly. Stir once or twice a day. Over two to four days, the mixture ferments: a layer of white or grey mould forms on top and it develops a distinctly sour pong. This is normal and desirable — the fermentation is digesting the gel sacs and, as a bonus, killing several seed-borne diseases like bacterial spot and canker.
3. Separate the good seeds
Once the mould layer has formed and most seeds have sunk, the fermentation is done — don’t leave it much longer or seeds can start sprouting in the jar. Add more water, stir well, and let it settle. Viable seeds sink to the bottom; dead seeds, pulp and mould float. Pour off the floating debris carefully, refill with clean water, and repeat until you’re left with clean, heavy seeds at the bottom. Don’t fret about escaping floaters — they’re lighter because they lack a developed embryo, so you’re discarding duds, not treasure.
4. Dry them thoroughly
Pour the clean seeds through a fine sieve, rinse under cold water, then spread them in a single layer on a non-stick surface — a glass or ceramic plate, a coffee filter, or parchment paper. Avoid paper towels; wet tomato seeds glue themselves to the fibres. Dry them somewhere airy and shaded for one to two weeks, stirring occasionally. They’re ready when they snap rather than bend. This step is critical: any residual moisture in storage means mould, and mould means dead seeds. The fermentation guide from Milkwood at Milkwood’s tomato seed saving guide (PDF) walks through the same process with helpful detail on judging when seeds are dry enough.
5. Store cool, dark and dry
Put the fully dry seeds in a labelled paper envelope (paper breathes; plastic traps any last moisture) inside an airtight jar, and store somewhere cool, dark and stable — a fridge is ideal. Label with variety and year. Properly saved tomato seeds stay viable for four to six years, though germination rates slowly decline, so sow the oldest first.
The quick-and-dirty alternative
Pressed for time? You can skip fermentation: squeeze seeds onto newspaper or a paper plate, let them dry completely, and store. Seeds saved this way germinate perfectly well most years — the fermentation step mainly improves disease resistance and long-term viability. If your plants were healthy and you’re sowing next spring rather than in five years, the simple method is honestly fine. But if you’ve ever lost seedlings to damping off or disease, the fermented batch is worth the extra three days.
Sowing your saved seeds
Saved seed needs no special treatment at sowing time. Sow indoors 6–8 weeks before your last frost — for most of London that’s late February to March — in seed compost, barely covered, at around 18–21°C. Expect germination in 7–14 days. One caution: saved seeds can carry disease on their coats if fermentation was skipped, so use fresh compost and clean pots, and don’t sow saved seed in soil where diseased tomatoes grew. Tomatoes started too early become leggy monsters on the windowsill long before it’s safe to plant out, so hold your nerve until late February at the earliest. Mother Earth News has an excellent deep-dive on the whole process at how to save seeds from tomatoes, including the science of why the gel sac exists in the first place.
Frequently asked questions
Can I save seeds from supermarket tomatoes?
You can, but temper your expectations. Most supermarket tomatoes are F1 hybrids bred for shelf life, not flavour, and their offspring are unpredictable. Worse, many are grown in climates nothing like the UK. For reliable results, save from named open-pollinated varieties you’ve grown yourself.
How long do saved tomato seeds last?
Four to six years in cool, dry, dark storage, with germination gradually declining. Always sow a few extra from older batches, and do a germination test (ten seeds on damp kitchen paper) before committing your whole sowing to a five-year-old envelope.
Is the mould during fermentation dangerous?
No — it’s the same kind of natural fermentation mould you’d find on rotting fruit, mostly Geotrichum candidum, and it’s doing useful work digesting the gel sacs. Just don’t inhale it deliberately, keep the jar away from children and pets, and wash your hands after handling.
Do I need to ferment seeds of all vegetables?
No — only wet-seeded fruits like tomatoes (and cucumbers) benefit. Dry seeds like beans, peas, lettuce and peppers just need drying straight from the plant. Fermentation is a tomato-and-cucumber special.
Will saved seeds really grow the same tomato?
Yes, if the parent was open-pollinated or heirloom — tomatoes are overwhelmingly self-pollinating, so saved seed grows true to type. The exception is deliberate F1 hybrids and the rare accidental cross, which is why you note the variety and save from isolated plants.
The bottom line
Saving tomato seeds is one of those rare gardening jobs that’s simultaneously thrifty, scientific and quietly magical: a jar of pongy liquid on the shed shelf becomes next summer’s harvest. Ferment for three days, dry for two weeks, label everything, and you’ll never again pay £3.50 for a packet of seeds of a variety you already grew — and liked enough to grow again. And when the harvest outruns even your seed-saving ambitions, making soup from leftover vegetables means none of those glorious tomatoes goes to waste. That’s not just saving money; it’s the beginning of your own personal tomato breeding programme, one delicious summer at a time.