
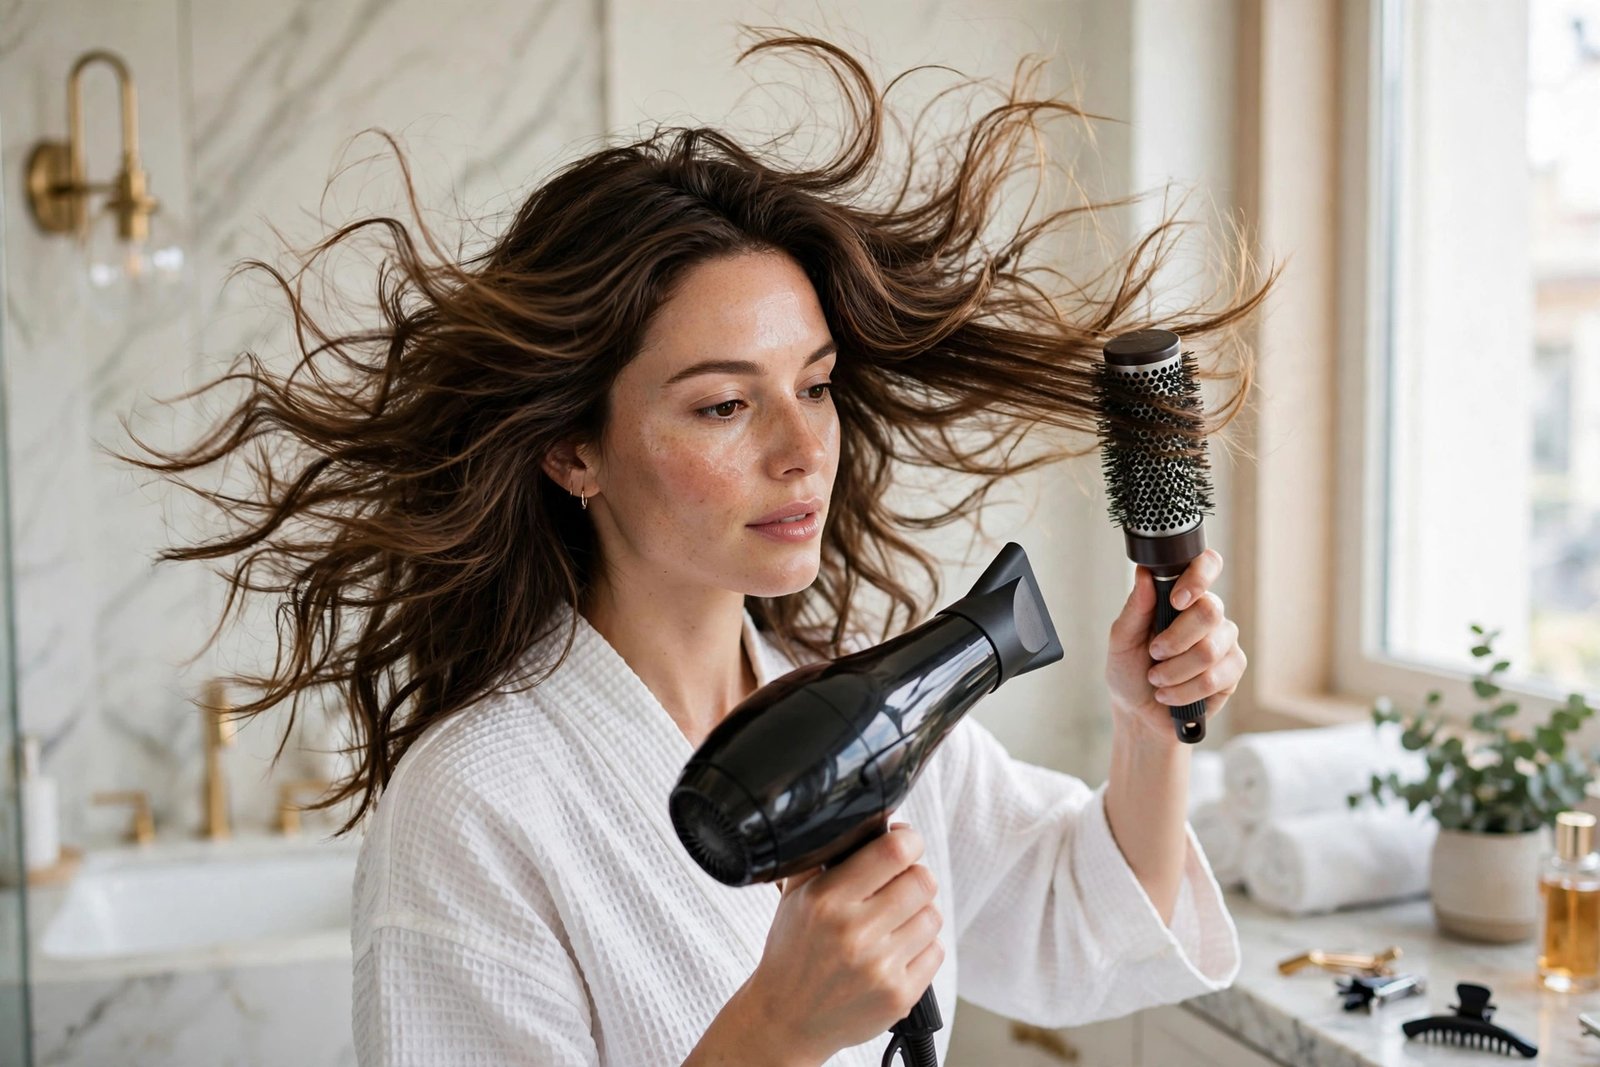
How to Get a Bouncy Blow Dry at Home: The Salon Technique
A salon blow-dry — that smooth, swinging, bouncy finish — feels like professional magic, but the technique is entirely learnable. Hairdressers are not using secret products; they are using sectioning, tension, heat direction, and a cool shot, in that order. With the right method, most hair types can achieve a genuinely bouncy blow-dry at home in 20 to 30 minutes. Here is the full technique, including the mistakes that keep home attempts flat.
Prep: 80% of the result happens before the dryer
Start with towel-dried hair — gently squeezed in a microfibre towel or cotton T-shirt, never rubbed, which roughs up the cuticle and creates frizz. Apply heat protectant through mid-lengths and ends; this is non-negotiable if you use heat regularly, since temperatures above 150°C damage the keratin structure. Then apply your styling product: a volumising mousse at the roots for fine hair, a smoothing cream for thick or frizzy hair. Product choice matters less than even distribution — comb it through.
Now the step everyone skips: rough-dry to 70–80% dry with just your fingers, head flipped upside down for extra root lift. Going straight in with a round brush on soaking hair doubles your drying time and your arm ache. Rough-drying first means the brush work — the part that creates the bounce — only needs to polish nearly-dry hair, which takes minutes per section instead of an eternity.
Section like a professional
Clip your hair into four to six sections: a bottom layer at the nape, mid sections at the sides, and a top crown section. Work from the bottom up, keeping unworked sections clipped away. This is the difference between a salon finish and a frizzy puffball — drying in sections gives you control over tension and direction, and ensures the underneath layers (the ones that collapse first) get properly smoothed.
Fit the nozzle attachment to your dryer. It concentrates airflow along the hair shaft, smoothing the cuticle flat — the physics of shine. Drying without a nozzle is like painting without a brush: the air goes everywhere and smooths nothing.
The round-brush technique
Take a section no wider than the brush. Place a medium round brush (ceramic-barrel brushes hold heat and speed things up) at the roots, and pull the section taut — tension is what creates smoothness. Direct the dryer’s airflow down the hair shaft, from roots to ends, following the brush as it glides down. At the ends, roll the brush under slightly and hold for a few seconds: this sets the bend that reads as “bouncy”.
For root volume, over-direct: lift each section up and away from the head as you dry the roots, rather than pulling flat. The hair cools in that lifted position and holds the volume. For the crown, dry sections forward over your face then flick back — an old-school trick that still works. Each section should be fully dry and warm before you move on; moving on damp guarantees collapse within the hour.
The cool shot: the step that locks it in
Hair sets its shape as it cools, not as it heats. Once a section is dry and warm, hit the cool-shot button for five to ten seconds while the hair is still wrapped on the brush. This single habit separates bouncy blow-drys that last all day from ones that fall flat by lunchtime. Professionals cool every section; home dryers often bury the cool-shot button, but it is the most important button on the dryer.
For extra staying power, especially on fine hair that drops quickly, set each dried section in a large Velcro roller while you work on the next. Leave the rollers in for 10–15 minutes while you do makeup, then remove and shake out. Finish with a light mist of flexible-hold hairspray — not a helmet of extra-firm — and a tiny drop of serum on the very ends only, never the roots. Which? regularly tests hairdryers for drying speed and heat control, and Boots stocks the heat protectants and styling products mentioned here.
Mistakes that kill the bounce
Drying upside down for the whole head creates volume but also frizz and tangles — use it only for the rough-dry stage. Using the dryer on maximum heat throughout damages hair and actually reduces smoothness; medium-high heat with the nozzle close is more effective. Touching your hair constantly after drying transfers oils and flattens roots — hands off once it is done.
Product overload is the other killer: too much serum or oil at the roots collapses volume instantly. And skipping the cool shot, as above, wastes all the preceding effort. If your blow-dry falls flat within two hours, the cause is almost always one of three things: sections were not fully dry, no cool shot was used, or too much heavy product at the roots.
A good blow-dry also pairs with the rest of your presentation — the same principle of polished basics applies whether you are styling a blazer for weekends or deciding how many pairs of shoes a minimalist wardrobe needs: a few well-executed fundamentals beat a pile of half-done extras.
Adapting for your hair type
Fine hair needs lightweight everything: volumising mousse, medium brush, and minimal serum — and it benefits most from Velcro rollers. Thick hair needs sectioning into smaller subsections and a larger brush to manage the density; a paddle brush for the rough-dry speeds things enormously. Curly hair aiming for a smooth blow-dry should start with a good detangle and consider a blow-dry cream with extra slip; expect the process to take longer, and do not fight the texture into submission with extreme heat — smooth, not straight, is the healthier goal.
The bottom line
A bouncy at-home blow-dry is: towel-dry and heat protectant, rough-dry to 80%, work in clipped sections with a nozzle and round brush using tension and downward airflow, over-direct roots for lift, cool-shot every section to set it, and finish light. Master the cool shot and the sectioning, and the salon finish stops being a £45 appointment and starts being a Tuesday.
Frequently Asked Questions
How long does a blow-dry at home take?
20 to 30 minutes for most hair lengths once you have the technique down, including rough-drying. The first few attempts take longer; sectioning and the rough-dry stage are what keep the time manageable.
What is the best brush for a bouncy blow-dry?
A medium ceramic-barrel round brush suits most hair — the ceramic holds heat to speed drying, and the medium size creates bend without tight curls. Use a larger barrel for longer hair and a smaller one for shorter styles or more curl.
Why does my blow-dry go flat after an hour?
Almost always: sections were not completely dry before moving on, the cool shot was skipped (hair sets shape as it cools), or too much heavy product was applied at the roots. Velcro rollers while the hair cools add significant staying power.
Do I need expensive products for a good blow-dry?
No — technique matters far more than product price. Heat protectant, a volumising mousse or smoothing cream suited to your hair type, and a light flexible hairspray are the complete kit. Mid-range high-street products perform excellently.
Can I blow-dry without damaging my hair?
Yes, with precautions: always use heat protectant, keep the dryer moving rather than parked on one spot, use medium-high rather than maximum heat, and give hair heat-free days between styling sessions.