
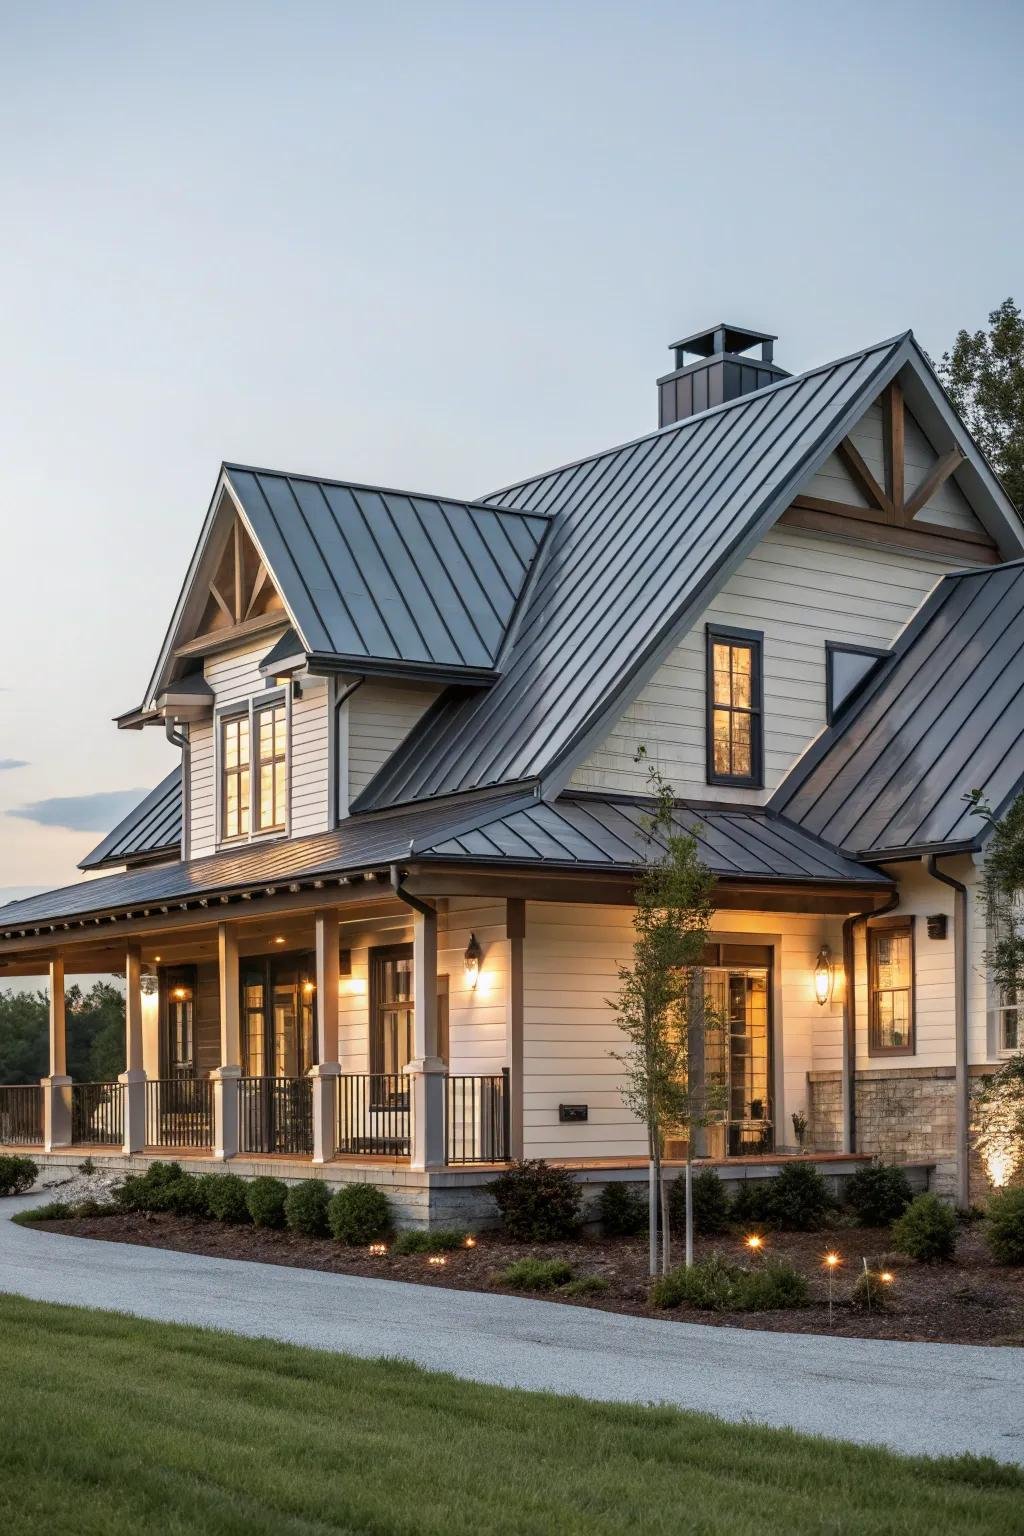
How to Waterproof Metal Roofing: Step-by-Step Guide (2026)
To waterproof a metal roof, clean the surface thoroughly, treat any rust, then apply a liquid waterproofing membrane or elastomeric roof coating with a roller or brush — usually two coats. This creates a seamless, flexible barrier that stops leaks and can extend your roof’s life by 10 to 15 years. It’s a practical DIY job for sheds, garages, and outbuildings, though house roofs are usually best left to professionals. This guide walks you through each step, the products to use, and the mistakes to avoid.
When Does a Metal Roof Need Waterproofing?
Metal roofs are tough, but they’re not maintenance-free. Look out for these signs that yours needs attention:
- Rust spots or patches — the protective coating has broken down, exposing bare metal.
- Leaks or damp patches on the ceiling below during rain.
- Flaking or peeling paint — the old coating is failing.
- Loose or lifted screws and fixings — water gets in around perished rubber washers.
- Standing water — ponding on flat or low-pitch sections accelerates corrosion.
- Age — if the roof is 15+ years old and has never been recoated, preventative waterproofing is smart.
Catching these early is far cheaper than replacing roof sheets. A full re-roof of even a modest garage can cost £2,000+, while a DIY waterproofing job on the same roof might cost £100–£200 in materials.
What You’ll Need
- Stiff brush or wire brush, plus a pressure washer if available
- Rust converter or rust-inhibiting primer (e.g., Hammerite Kurust or Jenolite — both sold at B&Q, Wickes, and Screwfix)
- Liquid waterproofing membrane or elastomeric roof coating (e.g., Cromapol acrylic roof coating, Thompson’s Roof Seal, or Isoflex Liquid Rubber — widely available in the UK)
- Reinforcement tape or scrim for seams, joints, and around fixings
- Paint roller (long pile), brushes for edges and details
- Replacement screws with EPDM washers (for any perished fixings)
- Ladder, non-slip footwear, gloves, and safety glasses
Safety first: Never work on a wet roof — it’s dangerously slippery. Avoid working alone, and on house roofs (anything above single-storey), seriously consider hiring a professional with proper access equipment. Falls from roofs cause serious injuries every year in the UK.
Step-by-Step: Waterproofing a Metal Roof
Step 1: Clean the roof thoroughly. Sweep off all moss, leaves, and loose debris. Then wash the whole surface — a pressure washer on a medium setting is ideal, or scrub with a stiff brush and a bucket of water with a squirt of washing-up liquid. The coating will only stick as well as the surface is clean, so don’t rush this. Let the roof dry completely (at least 24 hours of dry weather).
Step 2: Treat rust. Wire-brush any rust spots back to sound metal. Apply a rust converter (like Kurust) following the packet instructions — it chemically converts rust into a stable, paintable surface. For areas of heavy corrosion, apply a rust-inhibiting metal primer after the converter. If any sheets are rusted through, they need replacing, not coating.
Step 3: Fix the fixings. Go over every screw and bolt. Replace any with perished or cracked rubber washers — water tracking in around fixings is one of the most common causes of metal roof leaks. Tighten any loose fixings, but don’t overtighten and crush the washers.
Step 4: Seal seams and joints. Apply your liquid membrane along all overlaps, seams, and around vents, skylights, and other penetrations. Bed reinforcement tape into the wet coating along these vulnerable lines — this bridges any movement and stops cracks forming. Pay particular attention to where different materials meet (e.g., metal flashing against a brick wall).
Step 5: Apply the first coat. Stir the coating well (don’t shake — it introduces bubbles). Using a roller, apply an even first coat across the whole roof, working in manageable sections. Use a brush for ridges, edges, and awkward spots. Aim for the coverage rate on the tin — typically around 1 litre per square metre per coat. Don’t spread it too thin.
Step 6: Apply the second coat. Once the first coat is touch-dry (usually 4–6 hours, but check the tin), apply the second coat at right angles to the first. Two full coats are essential — one coat won’t give a reliable waterproof barrier. Some products recommend a third coat on particularly exposed roofs.
Step 7: Let it cure. Keep foot traffic off the roof for at least 24–48 hours. Full curing can take up to a week depending on temperature. Check the forecast before you start — you need at least 2–3 dry days, ideally with temperatures above 10°C.
Choosing the Right Waterproofing Product
Acrylic roof coatings (e.g., Cromapol, Thompson’s) are the most popular DIY choice in the UK. They’re water-based, easy to apply, and go on like thick paint. Good for 10+ years on a well-prepared roof. Typical cost: £30–£50 for 5 litres.
Liquid rubber membranes (e.g., Isoflex, Flexacryl) form a thicker, more rubbery membrane. They’re more expensive (£60–£100 for 5 litres) but offer superior flexibility and longevity — a good choice for roofs that move or flex with temperature changes.
Bitumen-based coatings are cheap and effective but can be messy to apply and have a strong smell. They’re better suited to felt and asphalt than metal, so they’re not the first choice here.
Whichever you choose, make sure it’s specifically rated for metal roofs — some coatings are designed for felt or concrete and won’t adhere properly to metal.
Common Mistakes to Avoid
- Coating over dirt or loose paint. The number one cause of coating failure. If the surface isn’t clean and sound, the new coating will peel off with the old.
- Skipping the rust treatment. Painting over active rust just traps it — it will continue corroding underneath and push the coating off.
- One thin coat. A single thin coat looks done but won’t last. Two proper coats at the stated coverage rate is the minimum.
- Ignoring the fixings. A perfect coating with leaky screw holes still leaks. Replace perished washers.
- Bad timing. Coating in damp, cold, or soon-to-rain weather leads to poor adhesion and curing. Wait for a dry spell.
- Walking on a wet coating. You’ll leave footprints that never quite level out — and risk slipping.
How Long Does It Last?
A properly applied liquid waterproofing system on a well-prepared metal roof should last 10 to 15 years. Acrylic coatings tend toward the lower end, liquid rubber toward the higher. After that, you can usually recoat directly over the old system after a clean — much cheaper than starting from scratch. Inspect the roof once a year (a quick look from a ladder after autumn is ideal) and touch up any damaged spots promptly to maximise its life.
Frequently Asked Questions
Can I waterproof a metal roof myself?
Yes, for single-storey roofs like sheds, garages, and extensions, it’s a very doable DIY job. For two-storey house roofs, hire a professional — working at height without proper equipment isn’t worth the risk.
What’s the best waterproof coating for a metal shed roof?
For most UK sheds, an acrylic roof coating like Cromapol or Thompson’s Roof Seal is ideal — affordable, easy to brush or roll on, and lasts a decade. Apply two coats over a clean, rust-treated surface.
Can you paint over a waterproof roof coating?
Most acrylic and liquid rubber coatings can be overpainted once fully cured, but check the manufacturer’s guidance. Many come in colours (grey, white, green, terracotta) so you may not need to.
How much does it cost to waterproof a metal roof?
DIY materials for an average single garage roof (about 20m²) cost £100–£200. Professional application typically costs £40–£70 per square metre, so £800–£1,400 for the same garage — the saving from DIY is significant.
Will waterproof coating stop condensation under a metal roof?
No — external waterproof coatings stop rain getting in, but condensation forms on the underside from warm moist air inside. For condensation, you need ventilation, insulation, or an anti-condensation coating applied to the underside of the sheets.
Final Thoughts
Waterproofing a metal roof is one of the highest-value DIY jobs you can do — a weekend’s work and a couple of hundred pounds in materials can add a decade or more to your roof’s life. The secret is all in the preparation: clean thoroughly, treat every spot of rust, sort the fixings, then apply two generous coats in dry weather. Do that, and your shed, garage, or outbuilding will stay dry for years to come.